


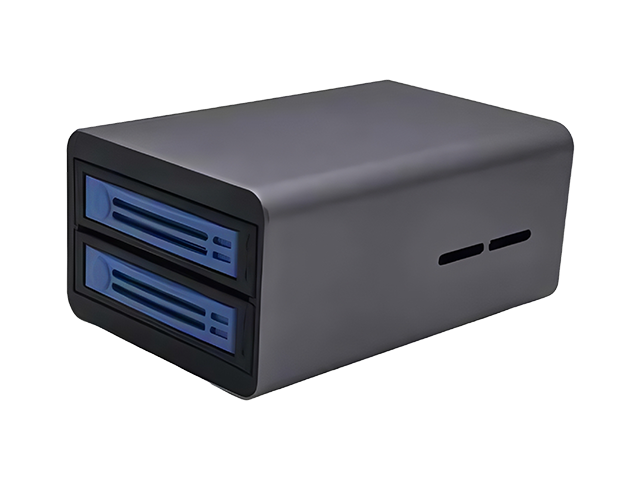
2-bay desktop U.2 SSD to USB4 enclosure (mini 2-bay DAS) · offline drive cloning · up to 24 TB per drive, 48 TB total · aluminum housing with ABS front panel · approx. 950 g without drives · tool-free pull-out trays · backward compatible with USB 3.2 / 3.
ModelDU4U221
Input InterfaceUSB4
Output InterfaceAccepts 3.5-inch and 2.5-inch U.2 drives
Motherboard SlotUSB4
Transmission Rate40Gbps (shared across all interfaces and internal drives)
Auxiliary Accessories
Product Size196×126×92 mm
This is a two-bay desktop U.2 SSD to USB4 enclosure — a mini 2-bay DAS — with offline drive cloning, and it handles a wide range of drives and mainstream operating systems. It supports up to 24 TB per drive and 48 TB in total (2 × 24 TB), houses them in an aluminum housing with an ABS panel, weighs approximately 950 g without drives, and takes tool-free pull-out trays. It is backward compatible with USB 3.2 / 3.0 / 2.0 and Thunderbolt, and supports Windows 8 / 10 / 11 and macOS.
1. Package Contents
The package contains the main unit, a USB4 data cable, a user manual, a power adapter, and a screw and screwdriver kit for 2.5-inch drives.
2. Specifications
Dimensions: 196 × 126 × 92 mm; aluminum housing in space gray, with flame-retardant ABS drive trays.
Drive support: accepts 3.5-inch and 2.5-inch U.2 drives; up to 24 TB per drive and 48 TB in total (2 × 24 TB). A 50 mm dual-ball-bearing cooling fan starts and stops in step with the host PC entering and leaving sleep.
Interface compatibility: USB4, backward compatible with USB 3.2 / 3.0 / 2.0 and compatible with Thunderbolt; supports Windows 8 / 10 / 11 and macOS.
Power: 12 V DC input.
3. Ports and Buttons
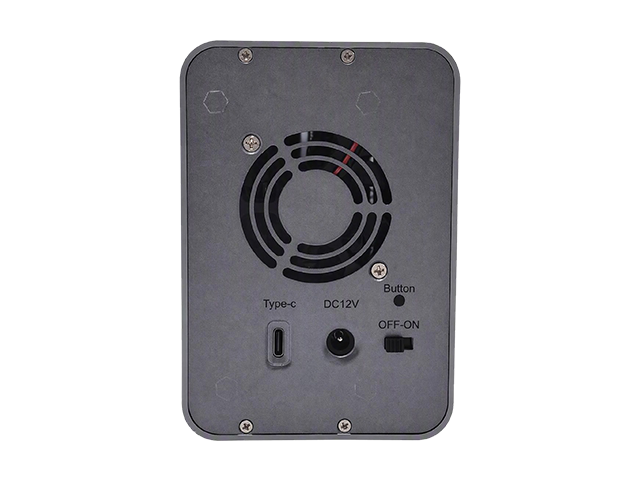
Power switch: master power for the whole unit — ON to power up, OFF to shut down.
DC power jack: connects to the supplied power adapter.
USB4 Type-C port: connects to the host computer. Connecting to a non-USB4 port will reduce the transfer rate.
Fan: 50 mm dual-ball-bearing high-speed fan, linked to the host PC.
Clone button: performs offline drive-to-drive cloning with no USB connection to a computer.
Operation: with the unit powered and the USB cable disconnected, press and hold Clone for 4 seconds and release, then press briefly for 1 second to start cloning.
LED status: both trays light red. The upper tray's red LED blinks to show 0–50% progress; once 50% is reached, the lower tray's red LED blinks instead. Both trays solid red means cloning is complete.
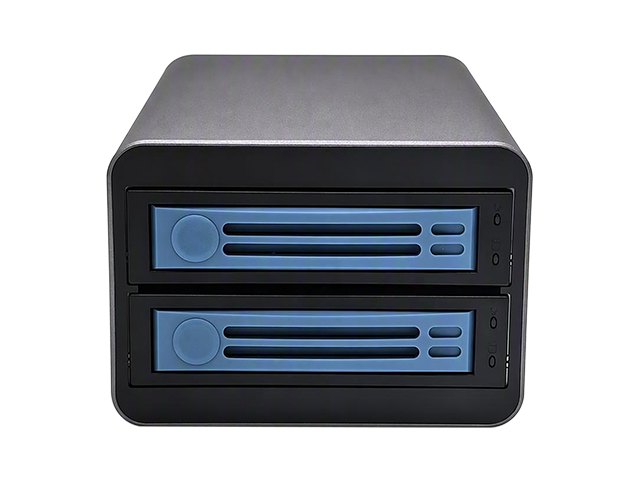
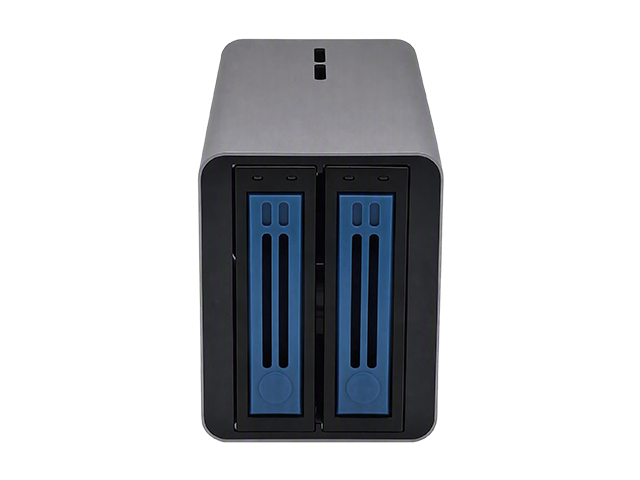
Drive trays: press the button to pop out the handle, then pull the tray out. LEDs: solid blue = drive powered; blinking green = read/write activity; solid green = drive connected normally.
4. Drive Installation
3.5-inch drives (screwless clip-in)
Press the tray button, pop out the handle and slide the tray out.
Remove the two side clips from the back of the tray.
Place the drive in the tray with its screw holes aligned to the tray's guide posts, then refit the two side clips — hook the top of each clip into the slot first, then clip it over the side of the drive.
Slide the tray back into the unit and fasten the handle. Connect the power adapter and USB cable, then power on.
2.5-inch drives
Remove one side clip from the tray and lay the 2.5-inch drive flat in the tray.
Align the drive with the screw holes at the back of the tray and secure it with the screws supplied in the package.
Slide the tray back into the unit and lock it in place.
5. Important Notes
When the unit is connected to a non-USB4 port on the computer, the transfer rate is capped by that port's specification and will drop.
For offline cloning the USB data cable must be disconnected — only the power adapter should be connected before pressing the Clone button.
The LEDs let you read the drive state at a glance: powered, reading/writing, and cloning progress.
Related Downloads
 Downloads
